

We officially have a coffee table I don’t flinch from. This project might be the most time-sensitive and nerve-wracking one I’ve done so far. I didn’t want to deprive Matt and our roommate of a coffee table for too long, and I also needed to be really careful. With other projects that have involved wood, I had some wiggle room, because lumber isn’t terribly expensive and I could just run out and by more if I needed. Stikwood, however, is a little pricier, especially the option I picked – reclaimed weathered wood.
I initially had a couple of issues with ordering Stikwood, but their customer service is awesome, and I managed to place an order right before the 4th of July weekend. Finally a couple of days ago, I opened it up.
This is what our coffee table used to be like:
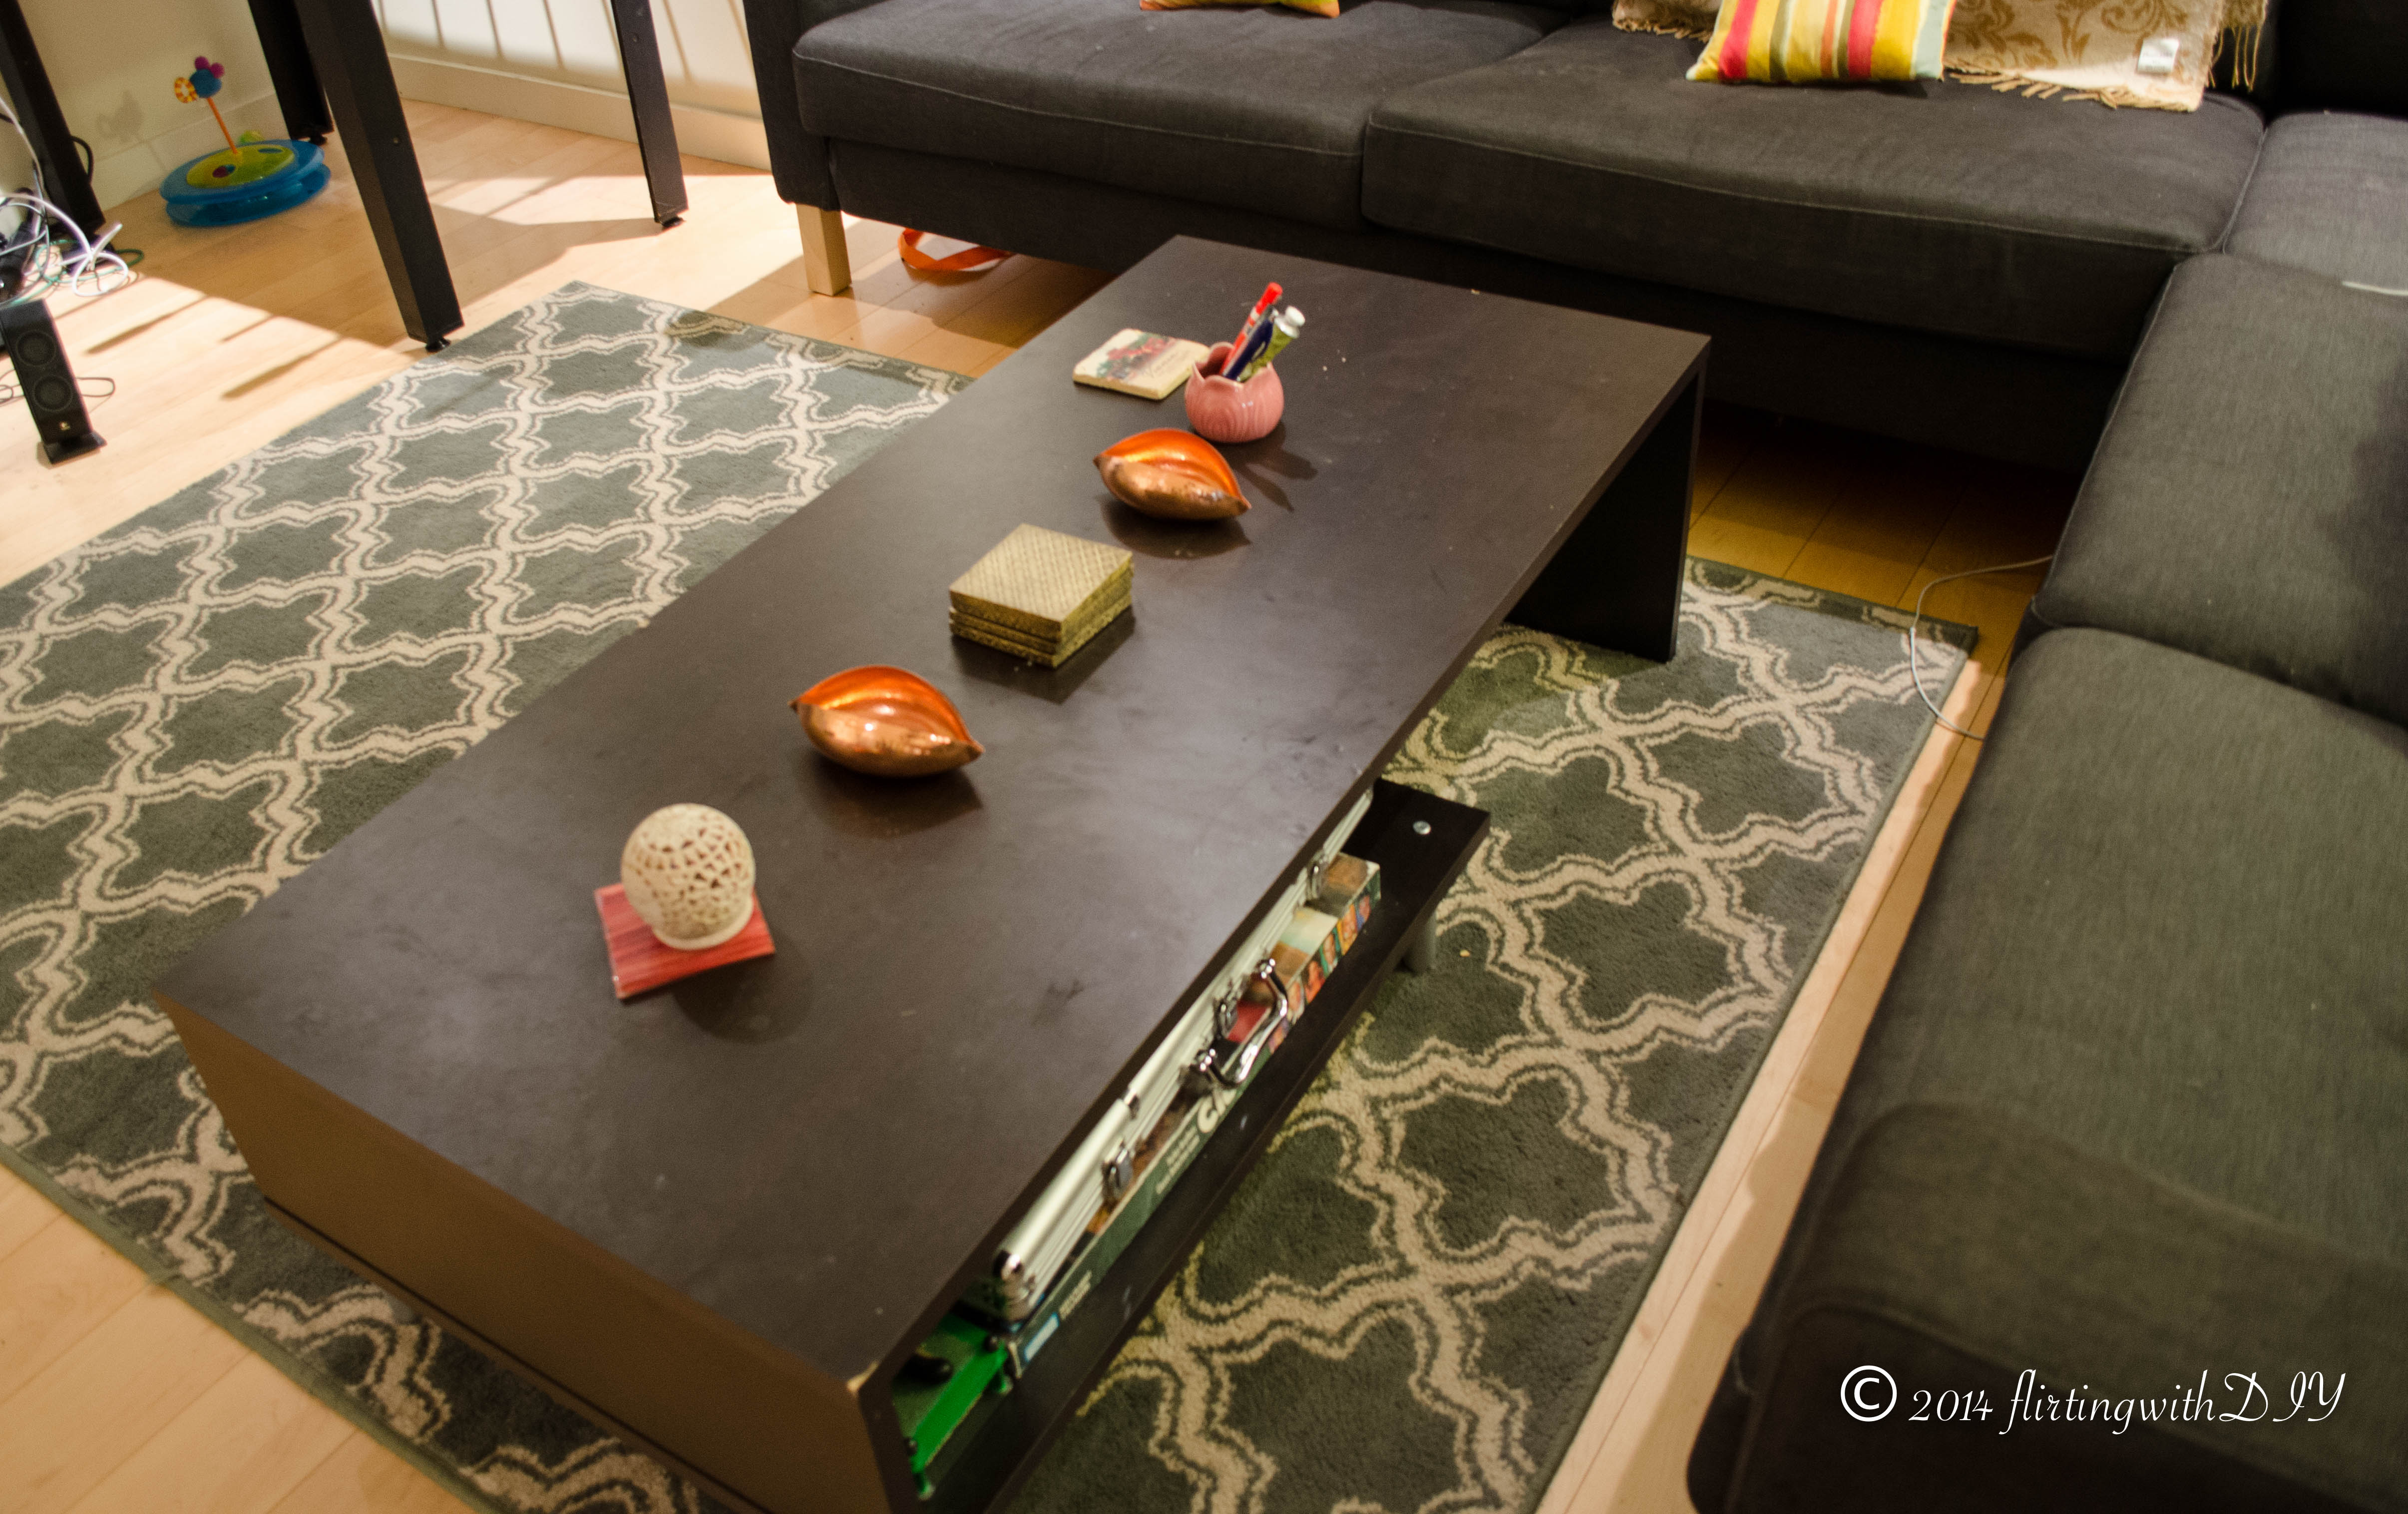
Gross, huh? It took about five cleanings a day to make it look presentable and I was sick of it.
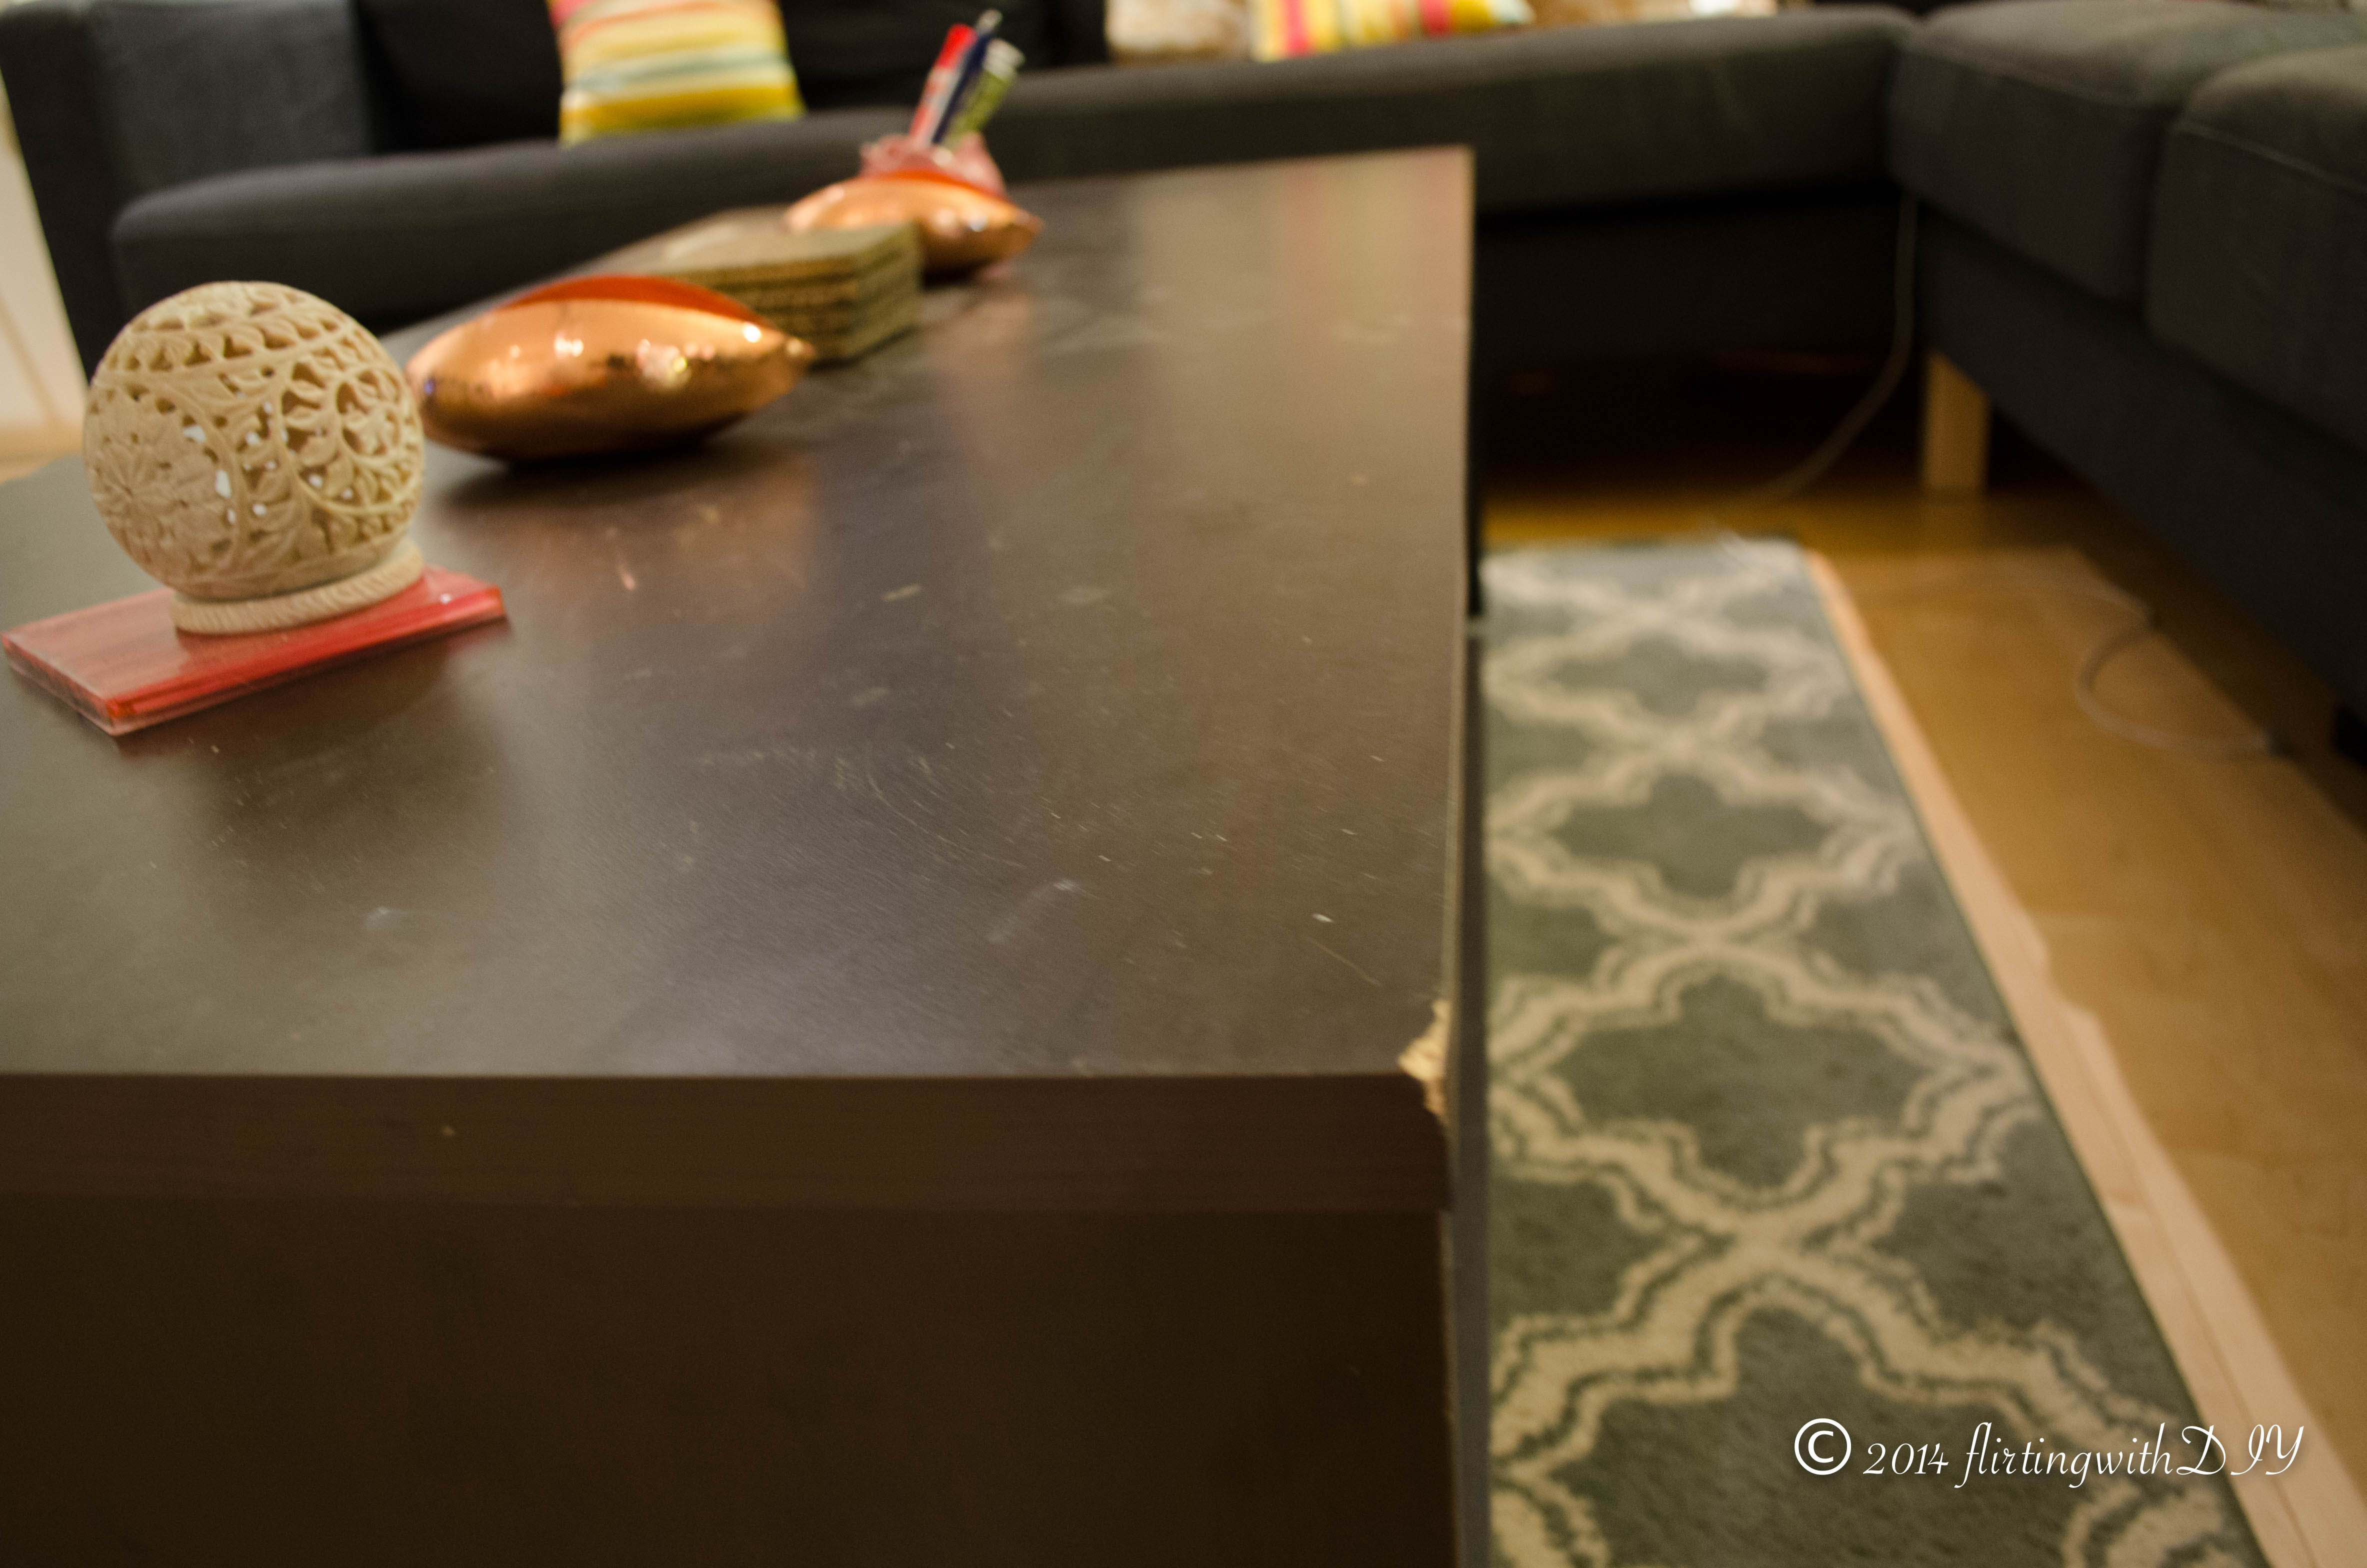
Oh yeah and these lovely dings and scratches existed when we first got it.

I got to work filling in the gouges with wood filler, before sanding the entire thing down and priming it. One thing I learned: wait a few seconds for the wood filler to dry the slightest bit; it makes it so much easier to work with. I used both my fingers and a putty knife to shape the edges that had been scraped off. I quickly painted the table the same Sherwin Williams Westhighland White as the accent table (it took about three coats since I only used one coat of primer), took a deep breath, and started tackling the Stikwood.
I had about 10 square feet of the product, and my coffee table surface is 130cm by 60cm. Yeah, it’s in centimeters, you can blame Amazon. (Or thank them, if you’re a product of the metric system – which I am.) So anyway, my initial plan was to do a staggered brick pattern, starting with four planks of 32.5cm each. Unfortunately, the Stikwood comes in various lengths, and with this plan, I would have ended up with a bunch of smaller leftover pieces that were the wrong size. I went with five planks of 26cm each, instead. Another issue: each piece was 5 inches, or just over 12cm wide, and the width of my table works out to 5 x 12cm. I decided to trim the top and bottom rows, but keep the middle ones intact. This was a good plan because as it turns out, taking a jig saw to an incredibly thin plank of wood, to cut off less than a centimeter? Bad idea. As in, splinters-everywhere, mangled-wood bad. Tip two: try everything out on a sample piece when you’re new to a method, or new to a product. Keep in mind this is reclaimed wood, so it’s inherently delicate. Something like engineered wood may not have had this problem.
I used a box cutter to trim the pieces, which was relatively easy because I was going with the wood grain.

That large piece is an old project remnant I used to protect the table. The incredibly thin piece I’m holding is a piece of Stikwood
The rest were easy enough to cut down with the jig saw. I realized that the bottom of my sample piece was cleaner than the top when I first tried out a cut. I’d faced the splintering problem with my clothes rack too, but hadn’t realized that the bottom was better. So, tip three: to avoid splintering and chipping on the top of your wood surface (aka the part that will show), cut with the planks face down. Worked like a charm for the rest of my pieces.

After I had all the right sized planks (since it was a staggered design, two rows had a 13cm-26cmx4-13cm configuration), it was amazingly easy. The adhesive strips at the back of the planks are really strong, and held on really well. Once that was done, I sealed it with a coat of water-based polycrylic. I don’t want anything happening to this table!
The weathered wood has gray and wood tones, and I love how it looks against the white table. It’s brightened up the seating area without being sterile, and I couldn’t be happier. Let’s do a comparison for fun, shall we?
Bleh
And after:

I love the texture and grain.

One more quick thing – as you can see, I’m working on changing the blog design. More things may be tweaked in the next week, so don’t be surprised if something changes!


I love how it turned out!
LikeLiked by 1 person
Beautiful makeover! I’ve never seen that stikwood before. Very cool!
LikeLike
Thanks, Kelly!
LikeLike